Pensil 70 – a Learning Experience
I am a relatively fresh audiophile, having only been involved in the hobby for the last five or six years. During this time I was introduced to the DIY aspect and fell hard. I started out with the classic “Gainclone” and moved on to some PassDIY designs. I had never attempted speakers, mainly due to lack of tools and space. After upgrading to a roomier abode, I completed my first speakers in the summer of 2009, a pair of Gedlee Nathan 10s. The Gedlee speakers were a kit but still a learning experience. All of the panels were pre-cut – which is half the battle – so I will definitely still need to gain some skills.
Having nearly completed a reading room in my house, I now needed another pair of speakers. My inclination was to build single-driver fullrange speakers, which I have always enjoyed, having once owned Zu Druids. This type of speaker is a good fit for the small room because high output is not required.
The primary issue that I am now confronted with is a lack of skills to complete a set of speakers that is nice enough to be on display in my home. I tend to rush to the finish and have a tendency to always mess something up. Based on this concern, I decided to embark on a learning adventure in speaker cabinet building during the summer/fall of 2010. Boutique parts need not apply!
The goal of this multi-stepped project is to end up with a nice set of single driver speakers, which both look and sound great, to occupy my newly renovated room. To reach this goal, I will be building three (maybe four?) designs of increasing complexity to allow my skill set to grow and improve as I complete each set. I also wanted to make them on the cheap. To do this, I am sourcing used drivers as much as possible. The great thing with people constantly pumping out projects is that there are always cheap used drivers available. Keeping costs down and achieving great sound are very important.
Choosing the project
After doing some research and spending a lot of time on DIYaudio.com, I came across the Mark Audio line of fullrange drivers. They seem to be very popular and are getting great reviews. I specifically looked at the CHR-70 driver based on those great reviews, as well as the price and designs available. CHR-70 drivers are available for about $75.00 a pair; I knew I could find a cheaper pair used. By way of design, there was a very simple-looking plan on the Mark Audio website called the Pensil 70. It is described as a “Damped Air Coupler,” which did not mean very much to me, but the description sounded good:
They use a combination of traditional quarter-wave design, a custom T/S volume alignment, and Transmission Line damping to provide a balanced response with a flavour of both vented and TL enclosures.
There is, as I found out later, a Pensil 70 v2; however, I built the original. I considered this a good starting project for a few reasons. First, there are no angle cuts – I figured I should take it slow and build a nice boxy box first. Second, the profile is nice; I knew I could give them to my brother in-law and he would be jazzed. Finally, I could use the drivers for the second project because there are so many options available.
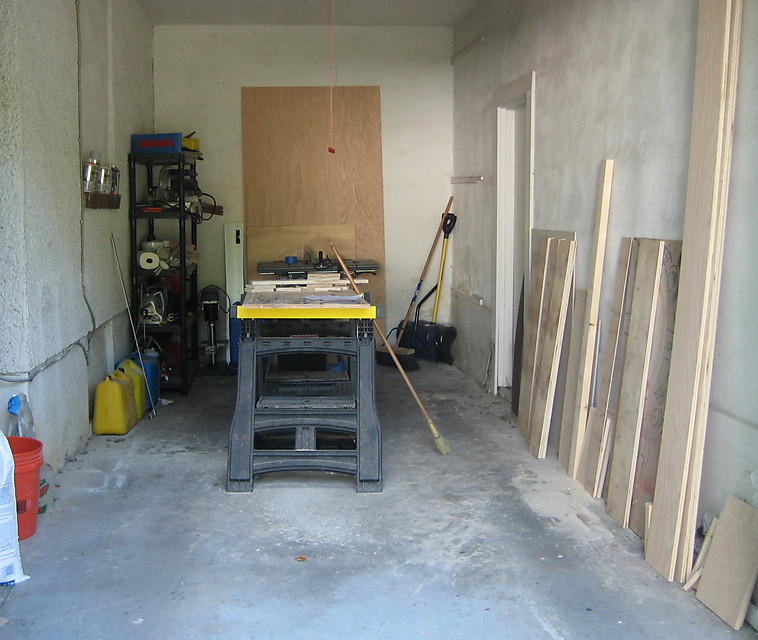
Construction
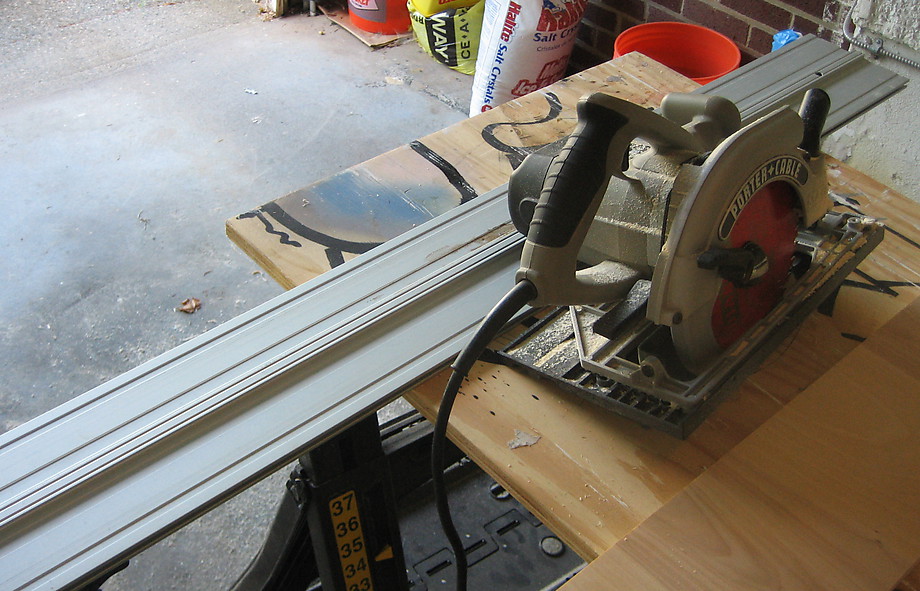
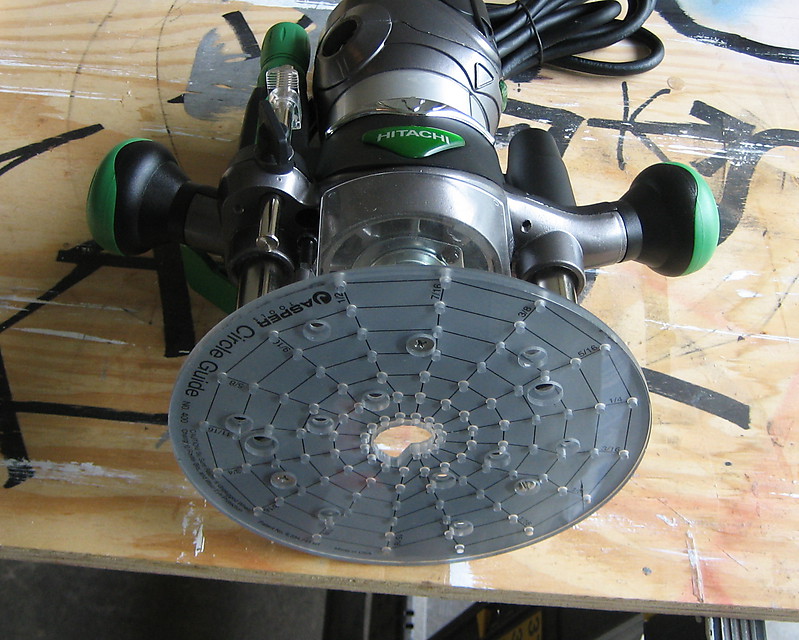
For this project, I only had to buy one new tool – a plunge router. I was very upset to have to buy this awesome tool, but I think I’ll survive. I do have a table saw, unfortunately one that is not great so for cutting the large sheets of wood down, so I used my Eurekazone tracksaw system. The Eurekazone tracksaw system is really a great product, it allows you to easily cut down large sheets of wood that would be cumbersome on a little job-site table saw. My Dad was over helping with another project and was doubtful it would work well – he was proven wrong. This product is highly recommended!
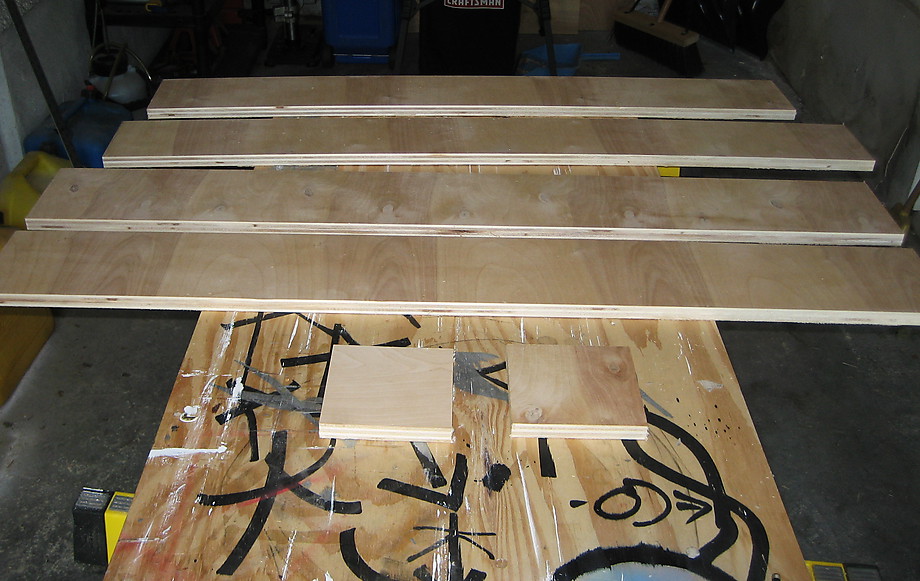
As I was really trying to keep cost down with this project, I went with cheap big box store birch veneered plywood at $40 a sheet. This pair was never intended to be a show piece, so I was not concerned with this not being the ideal material. For the next project, I will step it up to 18mm Baltic Birch. I purchased the drivers used for about $50, shipped to my door, the rest of the goods came from online sources. Not including tools, the Pensil 70 speakers have cost me around $140.00. Not too bad for this hobby! With new drivers you can expect to add a few more bucks.
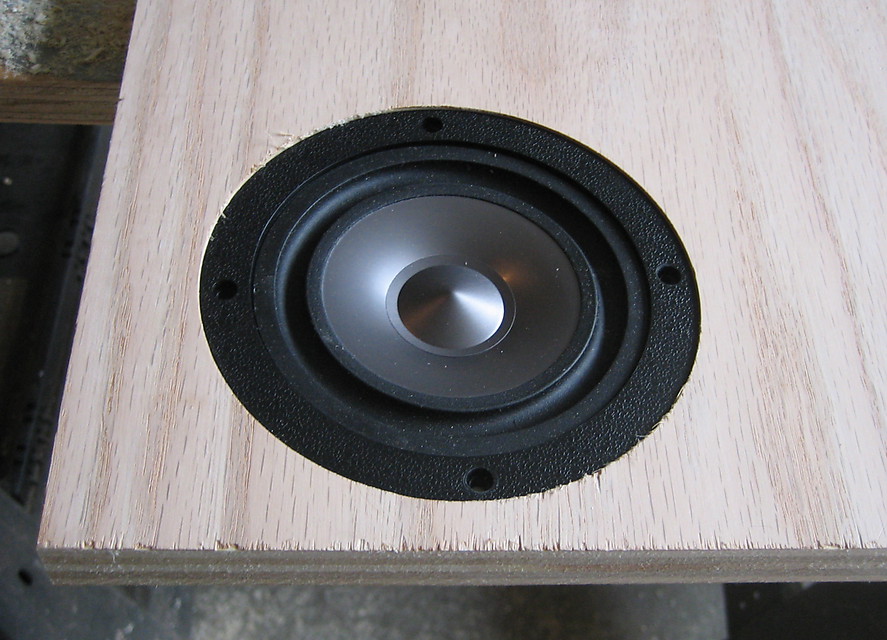
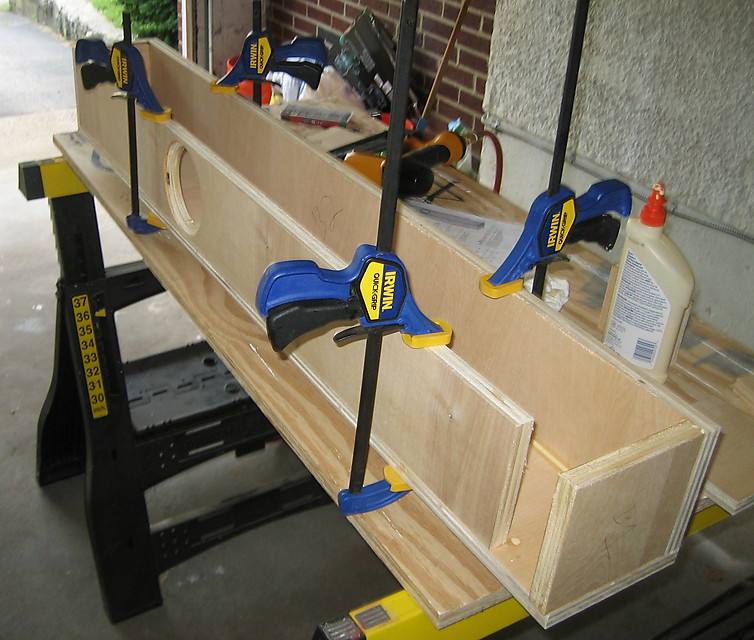
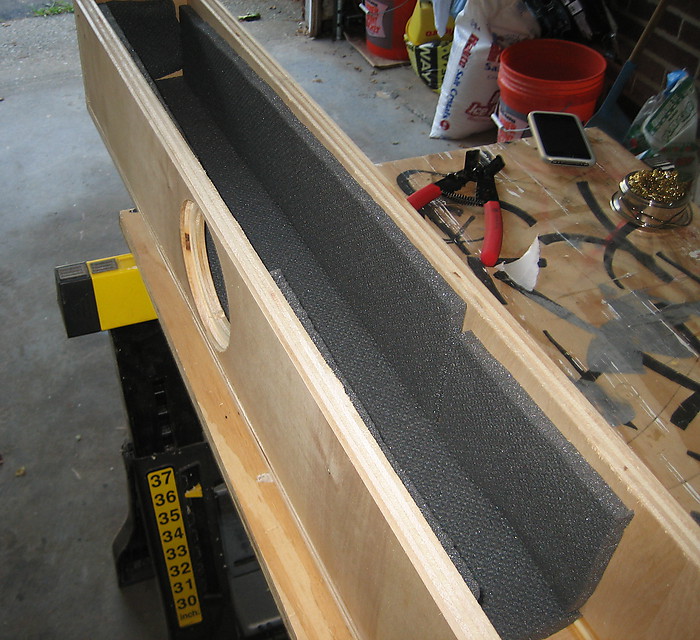
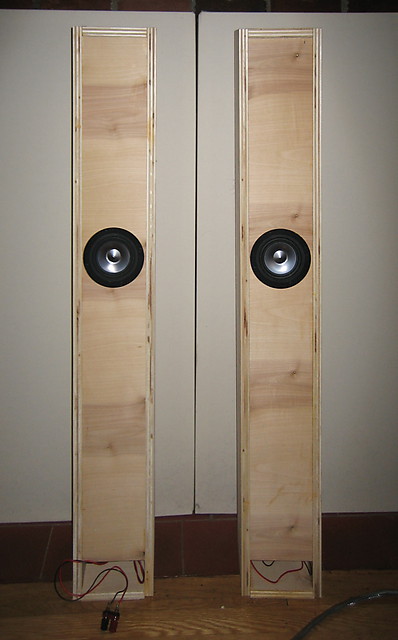
Construction of the box was pretty straightforward. I cut all the panels and mocked them up to get a feel for how they would come together. I used regular wood glue, as it contracts when it sets. I also used the brad nailer to hold everything together once everything was all clamped-up. On of my biggest challenges was figuring out in what order to assemble the cabinets. I ended up starting by attaching one side to the back. Then I added the top. From that point, the remainder of fabrication fell into place. They are far from perfect – I can really tell where my cuts need work. Once all but one side was pieced together, I added the 0.5” Sonic Barrier damping material to the interior. I attached the final side and closed it by inserting the driver with a bit of foam gasket to seal everything up. For this first project, the speaker wire is just coming out of the port. Did I mean to do this? Maybe not. However, the binding posts I bought were not long enough to go through the 3/4″ wood. Better luck next time!
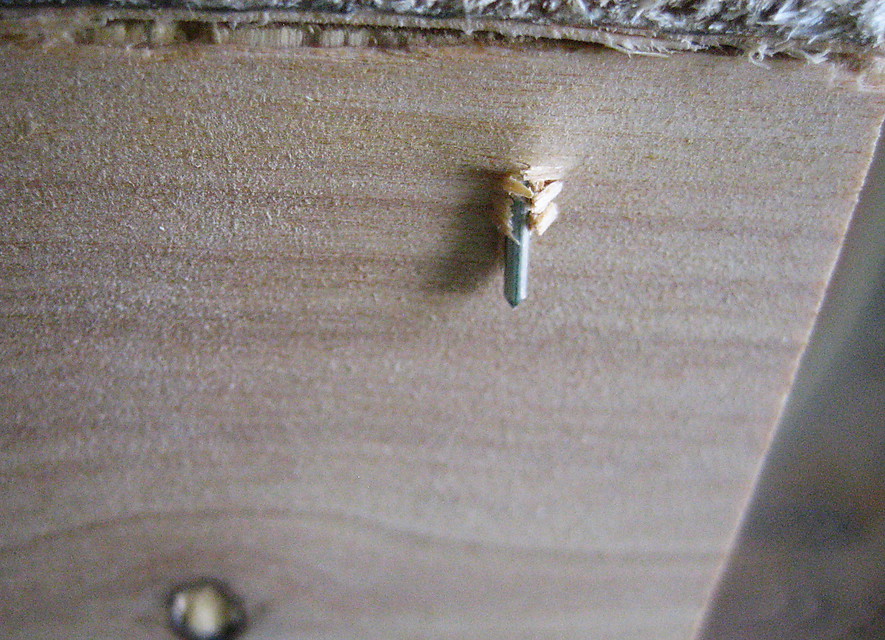
As expected, I made quite a few mistakes with this set of speakers. The biggest by far is that they were not built to spec! I noticed later that the plans were for 15mm material and not 3/4″!! Whoops… It would have been an easy fix to adjust the plans, but unfortunately now the internal dimensions are off. Live and learn. Other than that the only other small issue was a few mis-shots with the brad nailer… one of them coming nicely out the face of the speaker. It adds a bit of toughness to the speaker, but I plan to cut it off with a Dremel. I deem the project a success even in light of these hiccups, considering the main purpose of this build was practice.
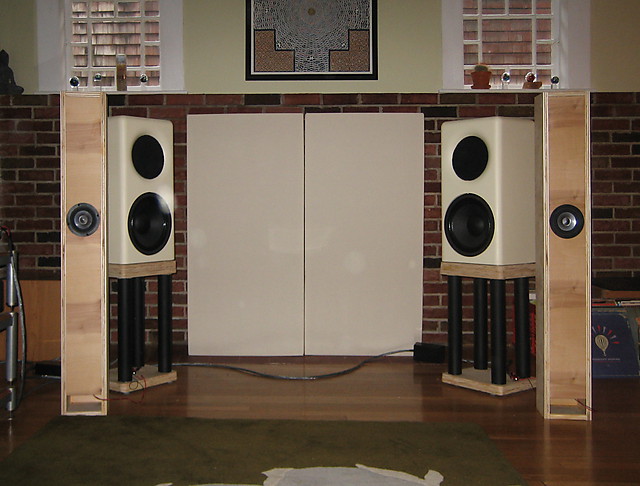
Pictures of the build are below (click on any image to view the slideshow).
The sound
I really enjoy the sound of these speakers and can only imagine the sound had they been built properly. They throw a huge soundstage for speakers of their size. I am currently running them with no filter and no sub, though if they were to stay in my room I would cut them off and use a sub. They go surprisingly low for a speaker with such a small driver, but the bass is a bit bloated.
The Pensil 70 speakers have me excited to try another CHR-70 design and other Mark Audio drivers in the future. For the next step in my project series, I will build a set of Lotus – CHR-70 speakers by Woden Design. They are a bit more complicated (but still not too many angle cuts). I also plan to get quality wood for this project, and, yes, the correct size of 19mm or 3/4″.
Tools
- Eurekazone Tracksaw System
- Circular saw
- Plunge router with Jasper Tools Model 400 Jig
- Air powered brad nailer w/1” brads
- 10” chop saw
- Wood glue and clamps
Parts
- One pair Mark Audio CHR-70 drivers
- 2.5 sheets of 0.5” Sonic Barrier
- Two pair of cheap binding posts
- 16 ga hook-up wire
Wood
- One 8’x 4’x 3/4” sheet of cheap birch-veneered plywood


Hello
I´m planning to build this Pencil 70V2, so I started browsing through internet to find some hints or comments then I get to this Hifizine page.
Could you please inform what is your room size and associated power amp did you use with
My room is around 18x15ft and my listening position 7.5ft.
In advance thank you very much for your assistance
JC
My room is a bit narrower then that but close. I used them with a 40w EL34 amp and a 10W classmA SS amp. These speakers were fun. I think you will like them.
Thanks
Hello!
im from Austria… please can anybody send me the Plan for the Markaudio CHR-70?
I love it to make Boxes …
Have a nice time
Mathias