Truth and Corruption
For all those tube-heads out there: you know that there is something very unique in what tubes can do in your system. While measurements, numbers and evidence tells us that tubes are ‘inferior’ to solid-state equipment, our ears and music tell us otherwise. And as excellent as certain solid-state designs can sound, there will always be those of us who pine for those glowing valves. While the design of a tube amp is relatively simple, they can be incredibly detailed, smooth and just so musical.
So when it came time for me to go fully active on my system, I decided it was time to not only install a tube amp for my tweeters… I also decided I would try to save some money and do it myself! After picking people’s brains in my Triode/Pentode amp for under $350? thread on AudioCircle, I decided to use the TubeLabs Simple SE amplifier. (That, by the way, is an excellent website for DIYers who are interested in starting their own tube amp project.) In the end, I built two amps, which I will describe in this article.
Amp I: Truth
Initially, I wanted to build the Simple SE tube amp for around $400-$600 – which I assure you is possible! I also assure you that it was far from likely for yours truly – who just always has to have the best of everything. So what does that include? Here’s a parts list:
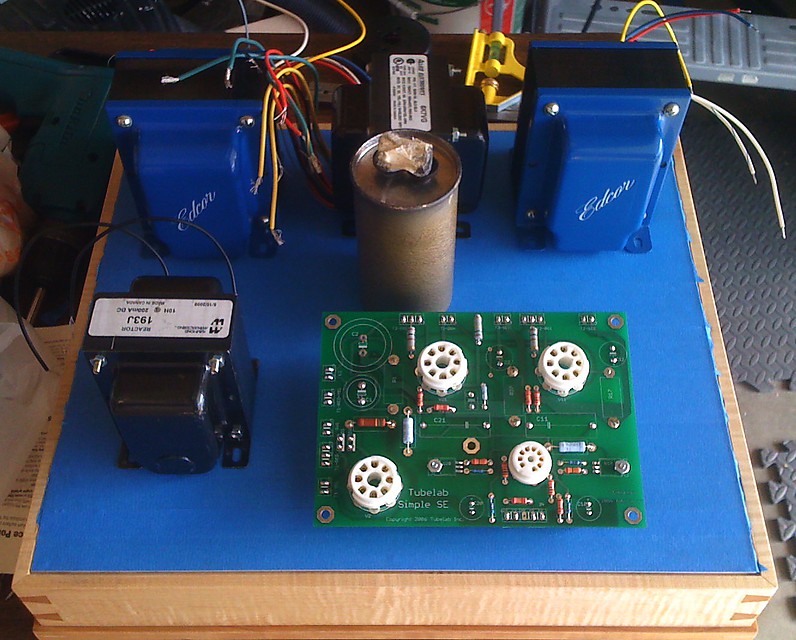
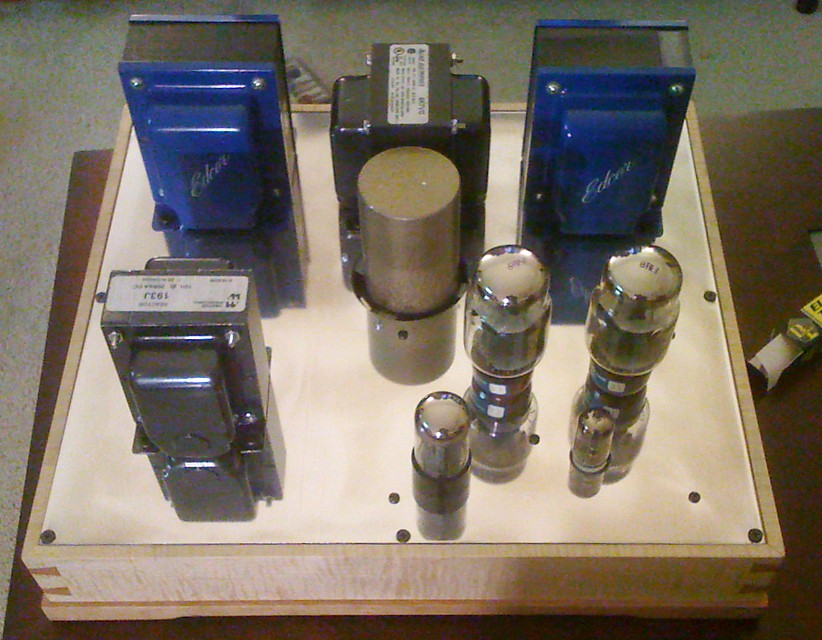
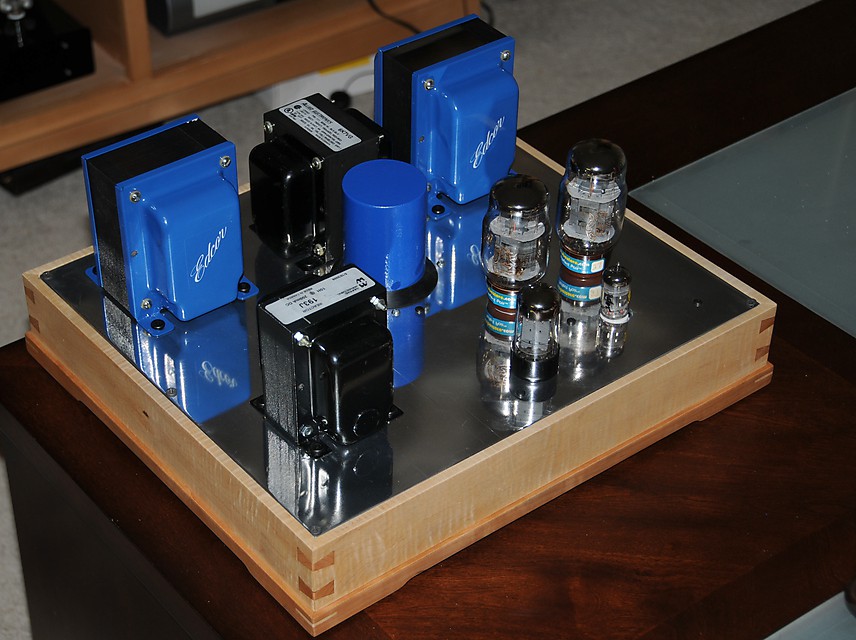
- Oversized Edcor output transformers CXSE25-8-5K (11lbs x 2)
- Allied power transformer 6K7VG (7-8 lbs, actually made by Hammond)
- Giant Hammond choke
- Panasonic electrolytic capacitors
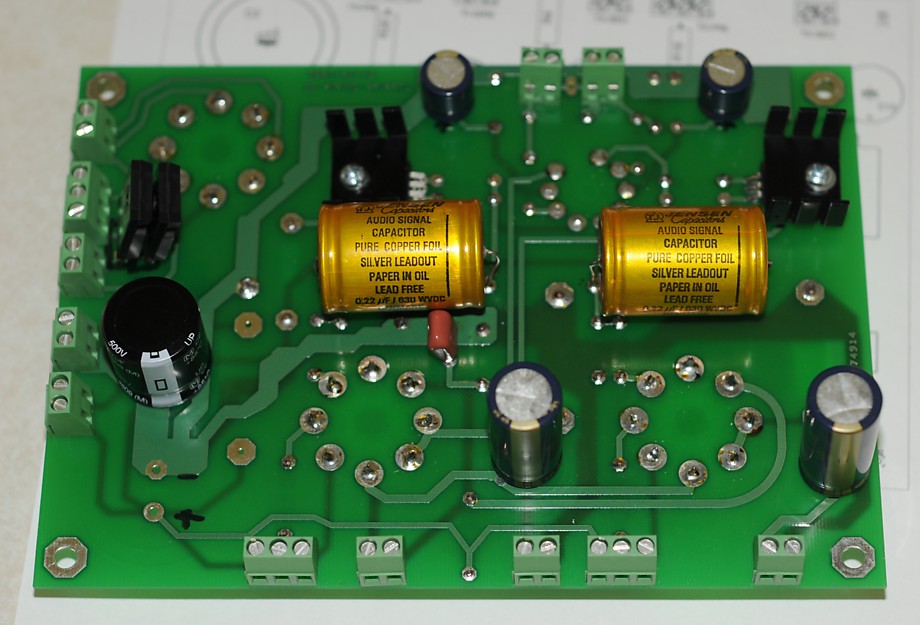
- Jensen copper foil paper-in-oil capacitors
- ASC oversized supplemental power cap
- Oversized HEXFRED rectifier diodes
- High quality resistors used throughout
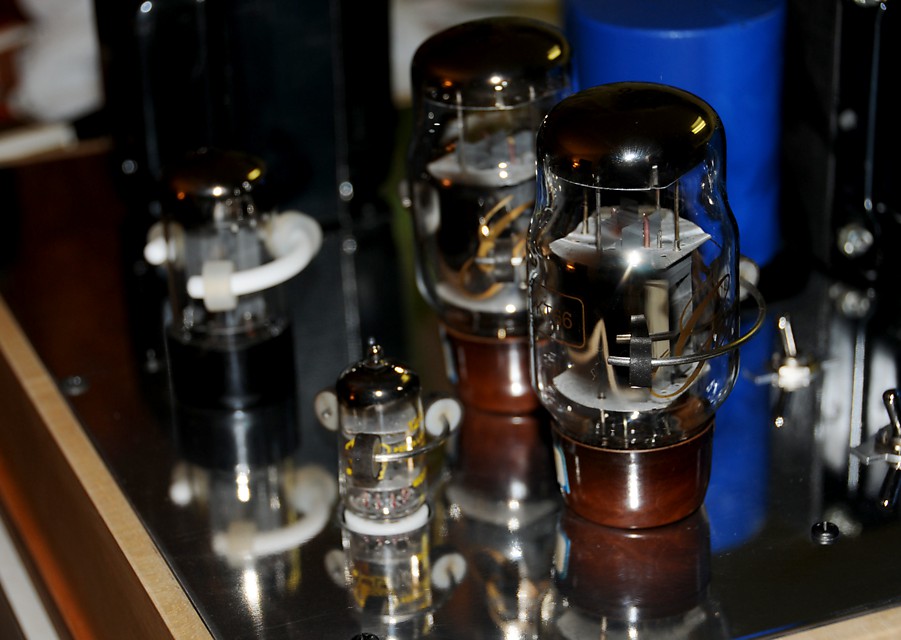
- Gold-plated ceramic tube sockets
- Silver amalgamated copper wiring throughout
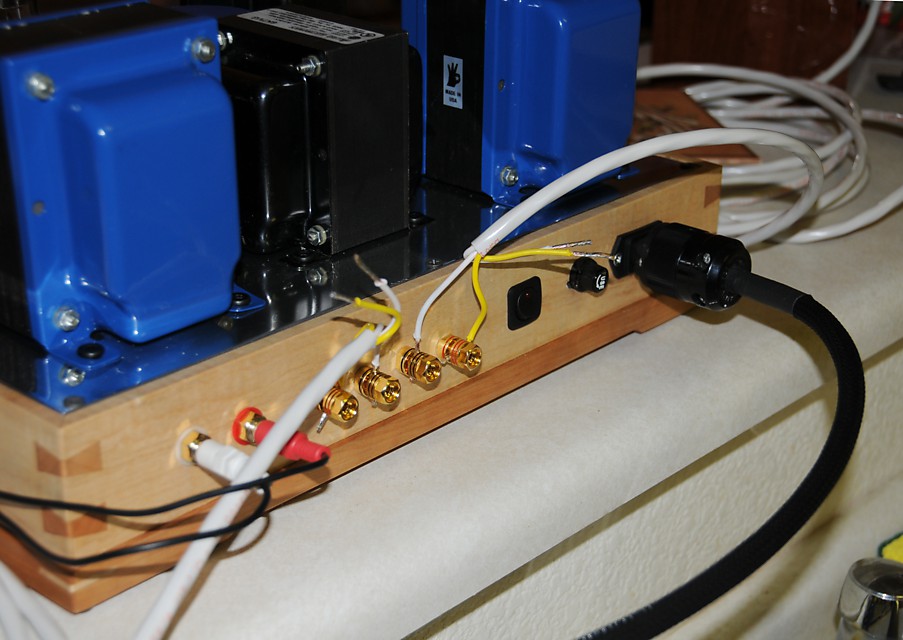
- Handmade (by me) twisted-pair super-thin copper conductor signal cables with braided shield (3 hours worth of construction in case you’re wondering why so much detail)
- Cardas RCAs and pure copper/gold-plated Vampire wire for the speaker terminals
- Tube complement: 2 x EL34 or KT88 and most equivalents, a 12AT7 for the signal tube, and a 5AR4 rectifier tube
- Custom solid wood box
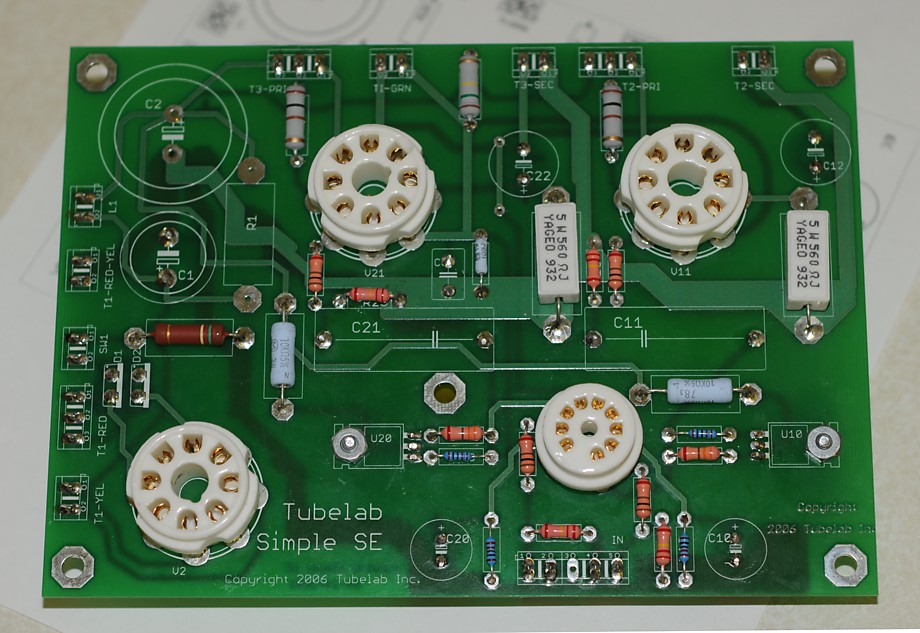
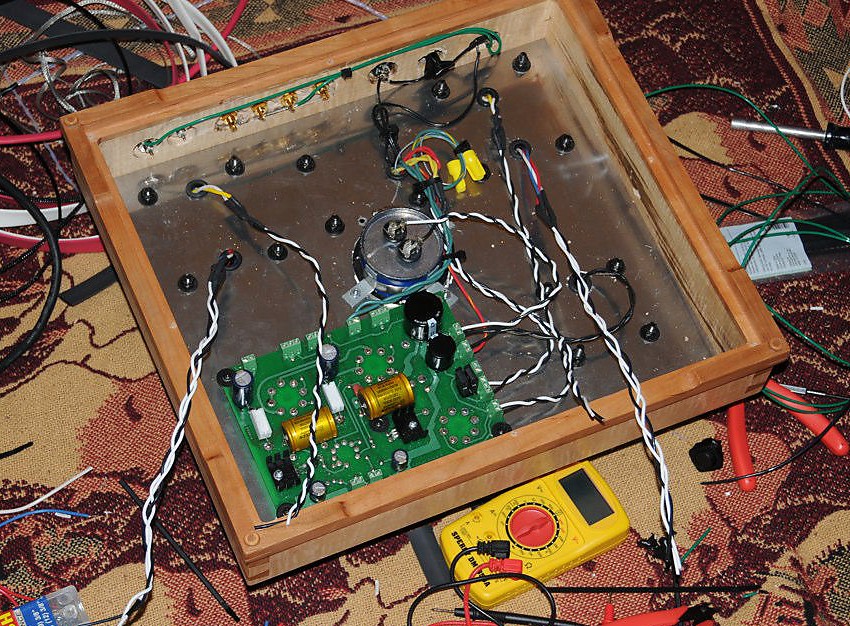
After waiting for what seemed like ages for my transformers, chokes, and caps to arrive, I started assembly on the board. The toughest part of populating the board was putting all the capacitors, diodes, and CCS modules on the back of the board while maintaining proper polarity. I thought building the board was going to be the hardest part, but it was by far the easiest, thanks to TubeLabs’ excellent design and step-by-step board assembly instructions.
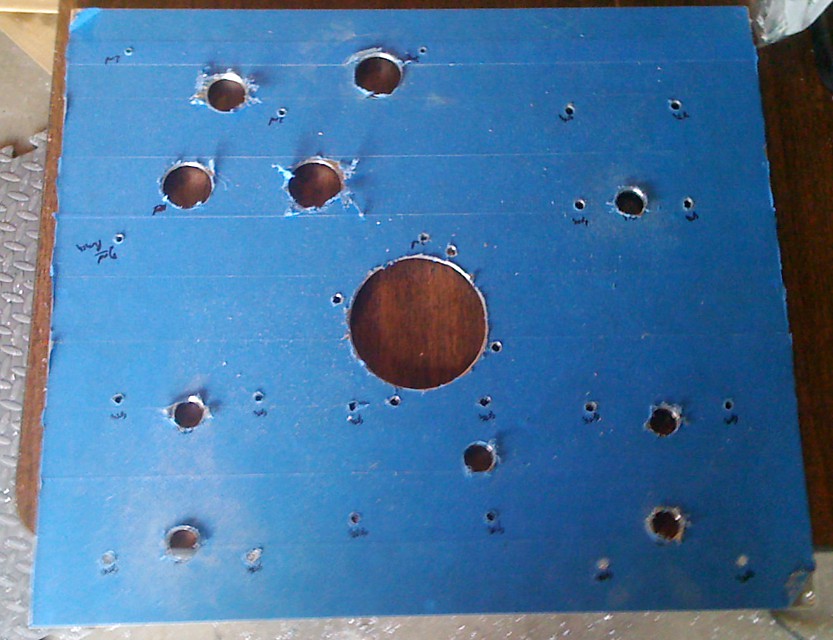
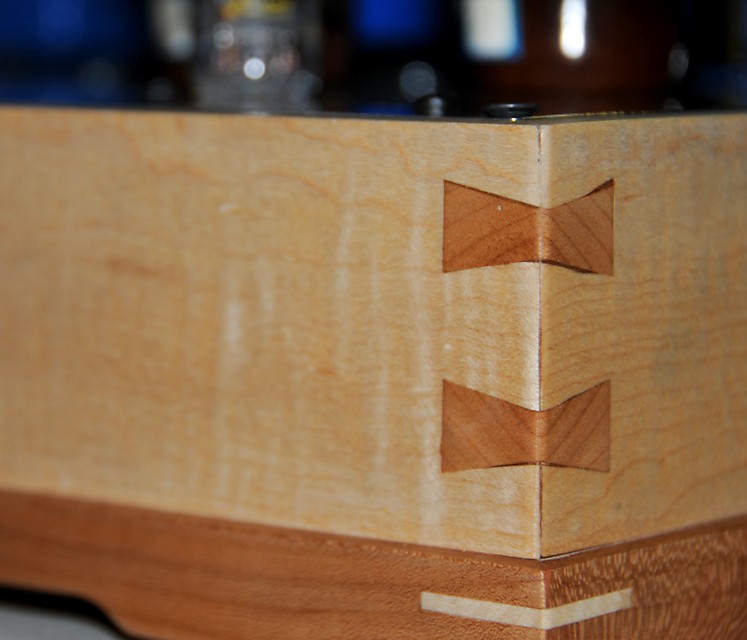
Incidentally, the box used to house this amplifier deserves a very special mention. My good friend Calvin Noguchi built this box to my specifications. His excellent work can be seen here. The box is made of solid tiger-stripe maple and cherry wood. Calvin utilized a special dovetail-like joiner on all corners, which gives the box a very unique look. And it’s sturdy! He also made the top plate out of 1/8″ thick aluminum. In a word the box is gorgeous, absolutely one of a kind. It was the perfect thing to set the whole project apart. (Please view the pictures in the slide show below to see what I mean.)
A few more notes on the construction process. I repainted the power supply capacitor – rather than gaudy gold I went with Edcor blue. Once done with construction, I double-checked the wiring, crossed my fingers and flipped the switch…. Bingo! I got sound out of one channel! I opened up the box again, and continuity testing confirmed bad signal cable connection. I fixed that, turned the amp on again, and it sounded like music! I brought it over to Wayne Waananen (of Bolder Cable) to verify my work as well as give any pointers – of which there were a few. He was kind enough to fix a grounding issue I had and redo my signal cable job. Big thanks!
(Click on any image to view larger images in a slideshow.)

(Continued on next page…)
Page 1 Page 2


Jason,
I love the level of detail you provided with these amp building projects. They results look really impressive. It is great to hear that the results were worth your effort and hard work. Nice job with all the photos showing the build process.
Great Project,
Your site is littered with broken links. Like the Triode/Pentode amp for under $350? & Continued on next page…) & that’s only on this page. I didn’t go any further, too impatient.
David
Thanks for the error report, links are fixed now.